
Introduction
For Disney and cosplay fans, the Jafar staff from Aladdin is one of the most iconic villain accessories. Whether you’re a cosplayer, a collector, or someone looking for an epic DIY 3D printing project, having a free Jafar staff 3D print file allows you to create a detailed and impressive prop without breaking the bank.
In this guide, we’ll explore where to find free Jafar staff 3D print files, the best materials and printing settings, and how to assemble, post-process, and paint your staff for a high-quality, professional finish.
What is Jafar’s Staff?
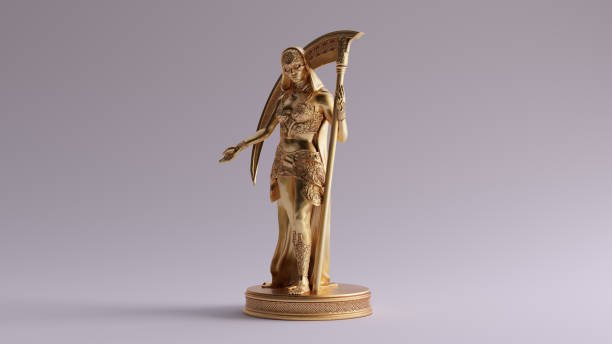
Jafar, the evil sorcerer and vizier from Disney’s Aladdin, is known for his serpent-headed staff, which he uses to hypnotize and manipulate those around him. The golden cobra-shaped staff is a signature element of his character, making it a must-have prop for cosplayers and Disney enthusiasts.
A 3D-printed Jafar staff is the perfect DIY project for bringing this legendary accessory to life with custom detailing, light-up eyes, and unique finishes.
Where to Find Free Jafar Staff 3D Print Files
There are several websites where you can download free STL files for Jafar’s staff. Here are the top sources:
1. Thingiverse
- A huge repository of free 3D print files.
- Offers multiple versions of Jafar’s staff.
- Community-based with user reviews and custom modifications.
2. MyMiniFactory
- Provides high-quality 3D models.
- Files are often verified for printability.
- Great for finding cosplay prop designs.
3. Cults3D
- Features both free and paid Jafar staff models.
- Offers detailed versions with easy assembly.
- Search for “Jafar Staff STL” to find free models.
4. Printables
- A newer 3D printing platform with high-resolution STL files.
- Offers community-shared models with step-by-step printing guides.
5. Cosplay & 3D Printing Forums
- Websites like Reddit (r/3Dprinting), The RPF (Replica Prop Forum), and cosplay groups often share custom files.
- Many users provide modifications, printing tips, and painting tutorials.
Best 3D Printing Settings for Jafar’s Staff
Once you’ve downloaded your Jafar staff STL file, it’s time to optimize your 3D printer settings for the best results.
1. Printer Type
- FDM Printers (Creality Ender 3, Prusa MK3S+): Best for large prop printing.
- Resin Printers (Elegoo Saturn, Anycubic Photon Mono X): Ideal for detailed serpent head prints.
2. Print Resolution
- FDM: 0.2mm layer height (medium detail) or 0.12mm (high detail).
- Resin: 0.05mm layer height for sharp edges and intricate details.
3. Infill and Strength
- 10-15% infill for lightweight display pieces.
- 30-50% infill for durability in cosplay use.
4. Supports & Orientation
- Print the staff head separately to ensure cleaner details.
- Use tree supports to prevent overhang issues in FDM printing.
5. Printing Time
- Serpent head (resin): 6-12 hours.
- Full staff (FDM): 15-24 hours, depending on print size and settings.
Assembly & Post-Processing for a Professional Look
After printing, it’s time to assemble, sand, and paint your Jafar staff for a polished final look.
1. Assembling the Staff
- If your staff prints in multiple pieces, use super glue or epoxy resin for a strong bond.
- Reinforce with internal rods or wooden dowels for added stability.
2. Sanding & Smoothing
- Use 220-grit sandpaper to smooth layer lines.
- Apply filler primer spray before painting for a seamless finish.
3. Painting & Detailing
- Base coat: Use gold spray paint for an authentic look.
- Shading & weathering: Add dark washes and dry brushing for depth.
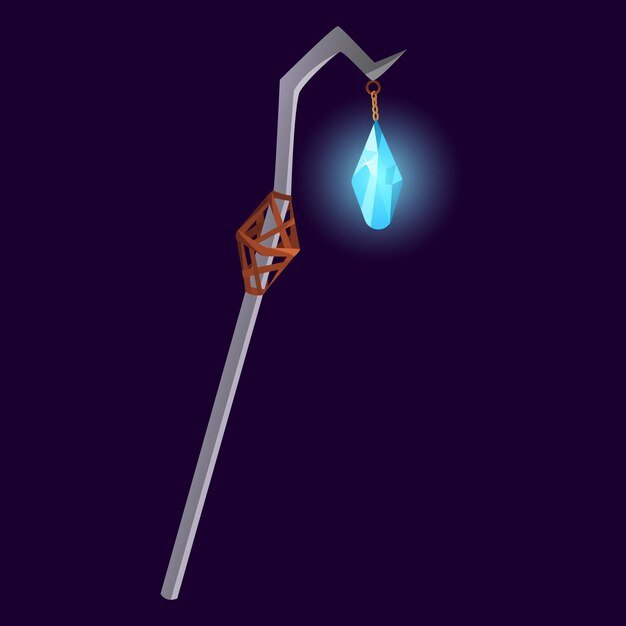
- Eye detailing: Paint the serpent’s eyes red or use LED lights for a glowing effect.
4. Protective Coating
- Finish with a clear coat (matte or glossy) to preserve the paint job and add durability.
Customization Ideas for Your 3D-Printed Jafar Staff
1. Light-Up Eyes
- Use LEDs with a small battery pack inside the serpent head for realistic glowing eyes.
- Wire the switch inside the staff handle for easy access.
2. Battle-Worn Look
- Add scratches, aging effects, and weathered gold tones.
- Apply acrylic washes for realistic shading.
3. Expandable & Collapsible Versions
- Modify the 3D model to break down into portable sections.
- Use magnetic connectors or screw-in parts for easy assembly.
READ MORE – Halo Legendary Icon 3D Print: A Complete Guide for Gamers & Makers
FAQs:
1. Can I sell 3D-printed Jafar staff?
No, unless you have Disney’s permission. However, personal prints and fan-made props for personal use or gifts are allowed.
2. What’s the best filament for printing Jafar’s staff?
- PLA: Best for lightweight display models.
- PETG: More durable for cosplay and frequent use.
- Resin: Ideal for detailed parts like the serpent head.
3. How do I scale the staff for different heights?
Use 3D slicing software (Cura, PrusaSlicer, Lychee) to scale up or down while keeping the proportions correct.
4. What’s the easiest way to add glowing eyes?
- Use LED tea lights or small red LEDs.
- Create transparent resin eye inserts for a diffused glowing effect.
5. Can I modify the design to be more unique?
Yes! You can use Blender, Tinkercad, or Fusion 360 to adjust details, engrave custom symbols, or change the snake’s design.
Conclusion
For cosplayers, Disney lovers, and 3D printing aficionados, building a 3D-printed Jafar staff is an intriguing endeavor. Printing, assembling, and personalizing your own real-looking prop is simple using free STL files accessible online.
Following correct printing settings, assembly processes, and painting styles can let you create a Jafar staff that resembles it straight out of the movie.


