
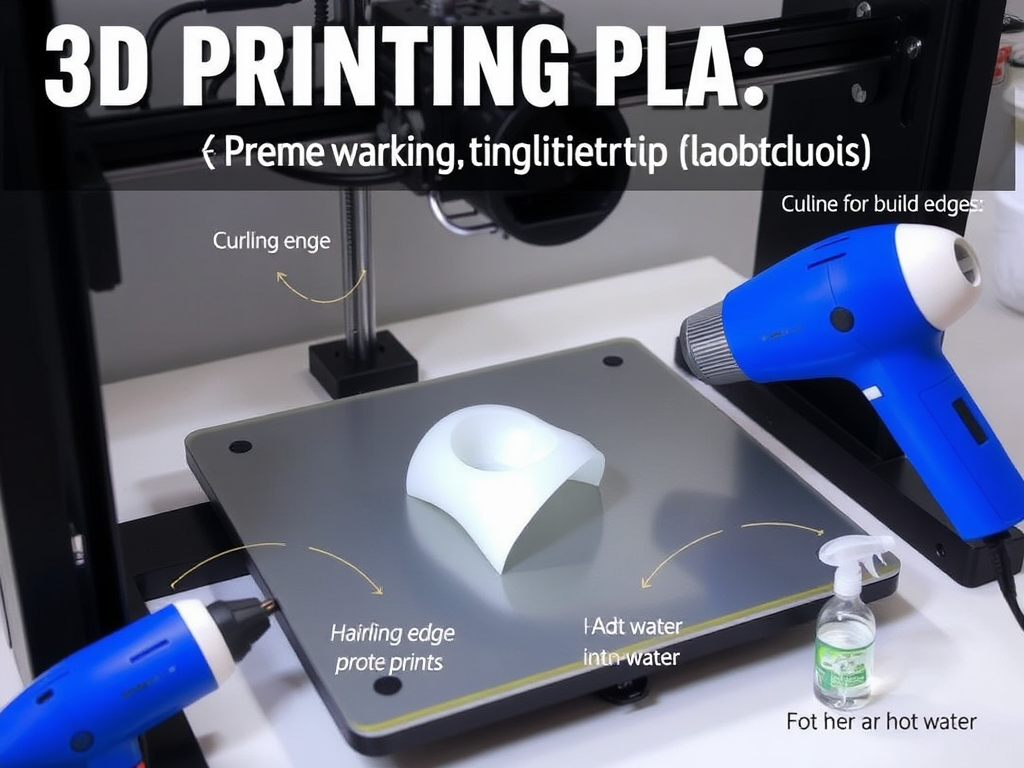
Should you enjoy 3D printing with PLA, you have probably run across the aggravating problem of curling or warping edges, when the corners of your design begin to rise off the build plate. Especially for bigger flat-bottomed items, it can destroy fine prints, waste materials, and create dimensional errors. The good news, though? Both during and after printing, there are several techniques to flatten curled PLA edges; even better, some of these techniques can stop them altogether. This expert-backed book will discuss the reasons for PLA curling, how to straighten bent edges following printing, tested prevention strategies, and typical errors to avoid. This article will assist you in obtaining those ideal first layers and smooth outcome, whether you print on a glass bed, PEI sheet, or magnetic surface.
What Makes the Edges of PLA Curl?
Its simplicity, low printing temperature, and biodegradability make PLA (Polylactic Acid) a popular polymer. On large or thin-walled prints, nevertheless, it is not immune to edge curling or distortion.
Main Causes of Curling:
- Poor first-layer bed surface adhesion.
- Low ambient room temperature or uneven bed temperature.
- Wrong fan settings for cooling.
- Dirty print bed or unlevel.
- Drafts of airflow or rapid cooling.
Environmental variables and printer settings might cause corners to peel up from the bed, even with PLA’s rather modest shrinking rate, hence degrading the quality of your model or causing complete failure.
How to Flatten Curled Edges of PLA After Printing
Should your PLA print be warped, here are some safe techniques to straighten curled areas after printing:
- Apply Gentle Heat and Pressure
- Set the twisted component on a level surface, like a glass bed or baking pan.
- Gently warm the curled region with a hairdryer or heat gun on a low setting.
- While warm, use a flat item to provide pressure or press it under a heavy book.
- Let it cool for 10–15 minutes under pressure.
- Remember: Overheating PLA could cause total deformation around 60–70°C.
- Hot Water Technique (For Small Prints)
- For 30 seconds, dip the curled region in hot water—about 60°C / 140°F.
- Using a cloth or smooth surface, gently press the section flat.
- Allow it to cool in that posture.
- For ornamental or low-stress components, this approach is perfect.
- Advanced Users: Use a Heated Press
- Put the component between two smooth metal plates.
- Using a heated bed or low-temperature oven (55–60°C), warm gently.
- Use moderate weight for 10 to 20 minutes.
Ways to Stop PLA Curling in Future Prints
Preventing is always preferable to post-print correction. Here is how to prevent edge curling from the beginning:
1. Perfect Your First Layer
- Use a feeler gauge or an auto bed leveling mechanism to level your bed correctly.
- Set your nozzle height exactly right; too far will cause PLA to not stick.
- For improved adhesion, run your first-layer speed at 20–30 mm/s.
2. Set a Heated Bed (50–60°C)
Though PLA can print without heat, a moderately heated bed promotes bonding and minimizes shrinking. A cold bed increases the likelihood of warping.
3. Increase Bed Adhesion
Any of the following will help to increase stickiness:
- Adhesive stick.
- Blue painter’s tape.
- PEI plate.
- Textured sheet or BuildTak.
- Hairspray on the glass surface.
Before printing, ensure the bed is clean and oil-free. For the first few layers, turn off or lower the part cooling. Fans running too early or too aggressively can cause the edges to cool quickly, hence causing lift-off. Delay the fan for 3–5 layers, or lower the speed to 30–50%. Include a raft or a brim. A brim enhances the contact surface area around the edges, hence significantly increasing adhesion. Your slicer should have 5–8 brim lines to properly hold down corners.
6. Cover Your Printer
Slight drafts in your room might cool PLA unevenly, particularly close to windows or vents. Stabilize ambient temperature using a printer enclosure or DIY cover.
Improved Solutions for Ongoing Warping
Should you still be experiencing curling after attempting the fundamentals?
Change Speed and Retraction Settings
Occasionally, excessive extrusion or rapid corner pulling could result in lifting. Consider:
- First layer speed: 20 mm/s.
- Speed of outer wall: 40–60 mm/s.
Experiment with additives that increase adhesion. Specially designed to stop warping, Magigoo, 3DLac, or Dimafix are safe to use on glass or PEI beds.
- Fillet the edges: Sharp 90° corners rise more readily. Include rounded edges or little chamfers in your CAD program.
- Divide big prints into smaller parts and later combine them using glue or connectors.
- Mechanical enclosures: Warped lids or bases might misalign screw holes.
- 3D games or puzzles: Warped components will not fit.
- Architectural models: Flat bases maintain models erect and professional-looking.
- Engineering components and prototypes: Curling can change tolerances and performance.
READ MORE – 3D-Printed Vizio TV Riser: A Custom Solution for Smart Home Viewing
FAQs:
- Can you straighten a distorted PLA print once it is complete?
Certainly. Flatten under weight on a hard surface using mild heat from a hairdryer or hot water (~60°C). Remove the strain after it has cooled.
- Why are the borders of my PLA print lifting from the bed?
Poor bed adhesion, fast cooling, or inconsistent bed temperatures induce edge lifting. It’s particularly prevalent on unheated systems or glass beds.
- Will a warm bed prevent PLA curling?
Especially on bigger flat prints, a heated bed set to 50–60°C greatly enhances adhesion and lowers curling.
- Does a brim actually assist with PLA curling?
Absolutely. A brim helps hold down edges during the first layers when curling is most common by increasing the surface area around the base of the sculpture.
- To prevent warping, what first-layer height is best for PLA?
Aim for a first-layer height of 0.2 mm (or 100% of your nozzle diameter) with a little “squish” to guarantee correct bed contact.
Internal and Outside Resources
Links inside (for printing tutorials or blogs):
- Pro Tips for Leveling Your 3D Printer Bed
- Beginners’ Top 10 PLA Filaments
- Bed Adhesion Techniques: The Whole Guide
Outside Resources:
- Prusa Knowledge Base – First Layer Calibration
- All3DP – Correcting 3D Print Warping
- MatterHackers – Guide to Preventing PLA Warping
Conclusion:
Curled PLA edges can ruin your outcomes, whether you are printing a complex cosplay item or a basic box. Fortunately, with the correct combination of printer settings, build surface preparation, and some post-processing, you can easily flatten and stop warping.


